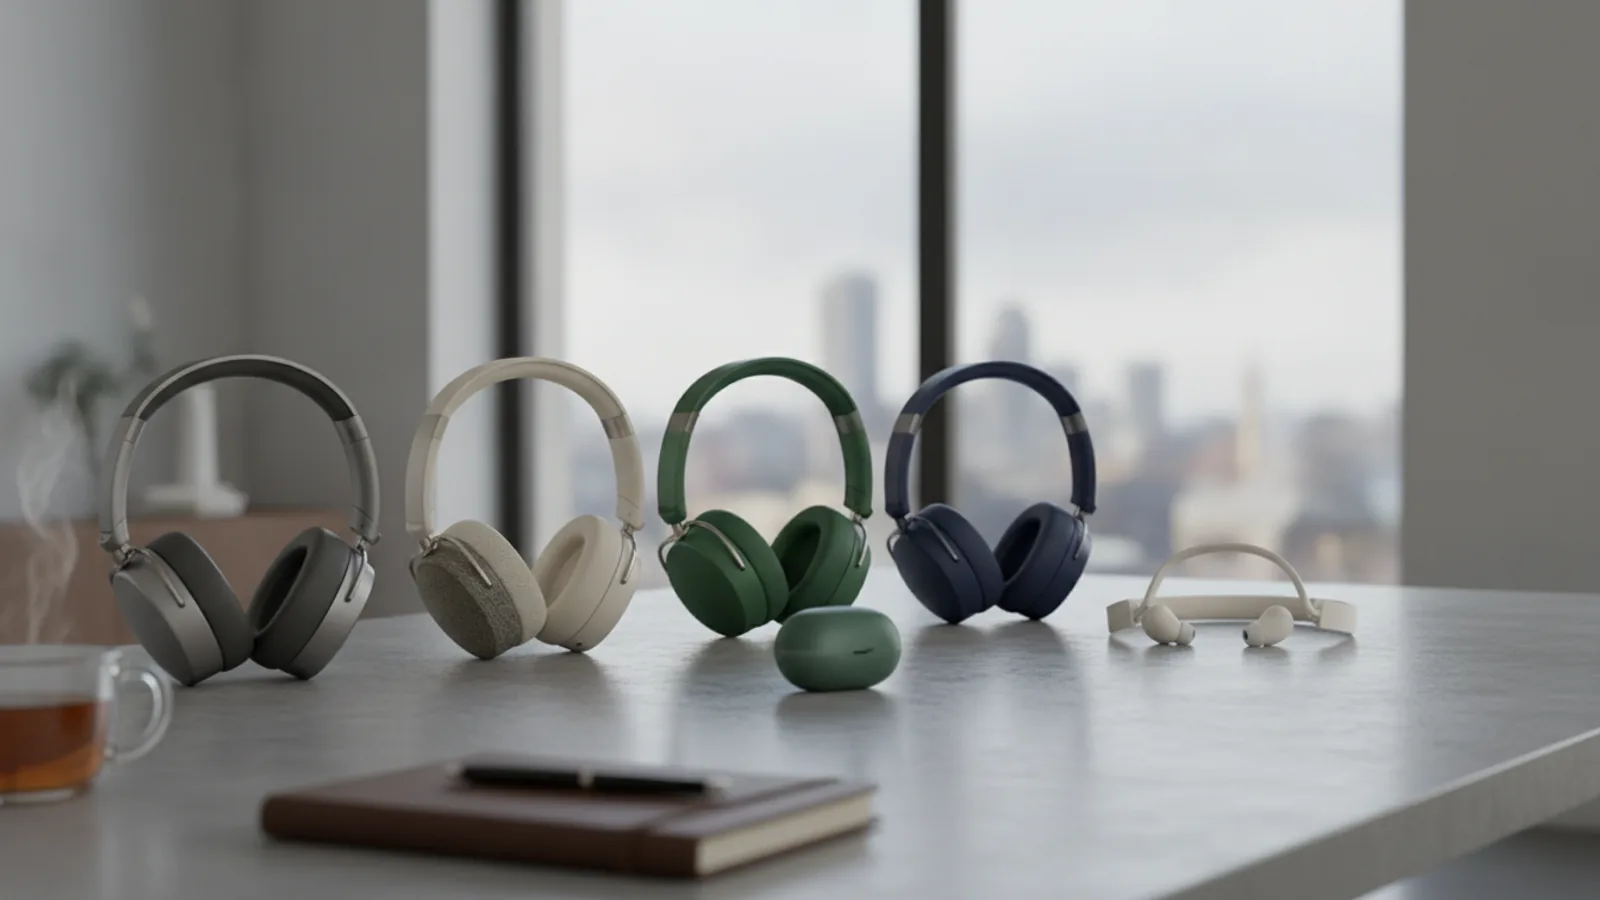
Bone Conduction Headphones
A practical step-by-step guide to bone conduction headphones, including preparation, instructions, common issues, tips, and next steps.
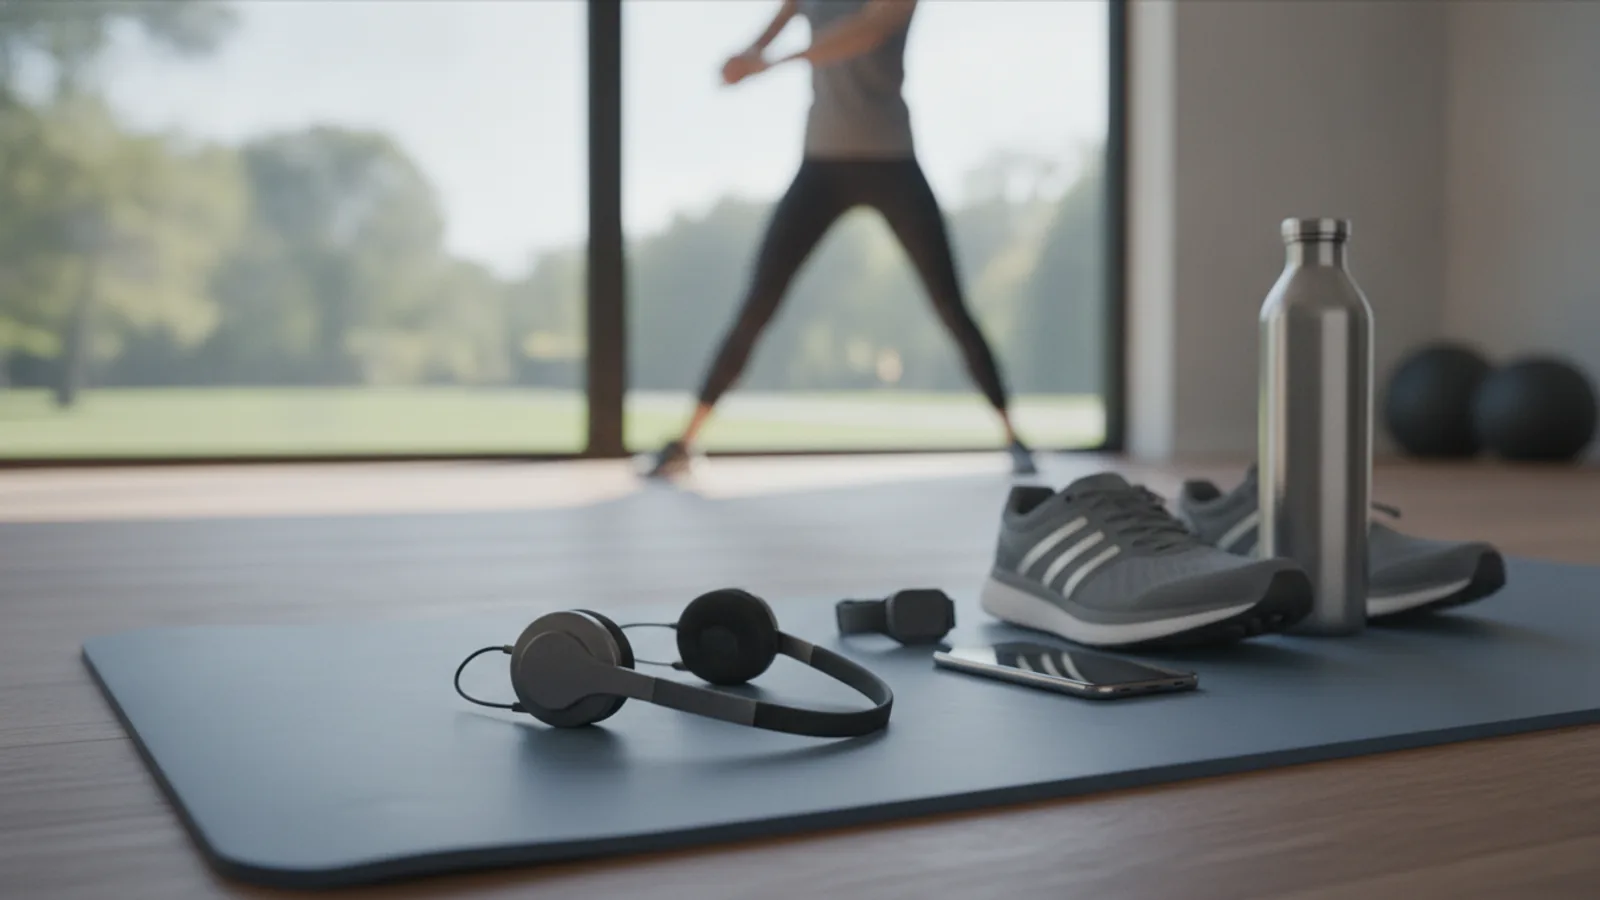
Bone Conduction Headphones
Bone conduction headphones offer a unique way to listen to audio while keeping your ears completely open to the world around you. Instead of using speakers that push sound through your ear canals, they send vibrations through your cheekbones directly to your inner ear. This guide walks you through every step of setting up, wearing, and getting the most from your new headphones, ensuring a safe and high-quality listening experience. It's perfect for runners, cyclists, office workers, and anyone who needs to stay aware of their surroundings.
Fast Answer
- Positioning: Rest the transducers on your cheekbones, just in front of your ears.
- Pairing: Press and hold the power button until the light flashes, then find the headphones in your device's Bluetooth menu.
- Best Use: Ideal for activities where situational awareness is crucial, like outdoor exercise or open-plan offices.
Before You Start
Setting up bone conduction headphones is straightforward, but a few preparatory checks will ensure a seamless experience. This technology is different from what you might be used to, so understanding its unique characteristics is key.
What You Need
- Bone conduction headphones: Fully unboxed with all included accessories.
- Charging cable: The specific cable provided by the manufacturer (often a proprietary magnetic or USB-C type).
- A Bluetooth-enabled device: A smartphone, tablet, smartwatch, or computer to pair with the headphones.
- A clean, soft cloth: For wiping down the headphones before and after use.
Safety, Timing, or Context Checks
- Manage Audio Expectations: Bone conduction technology excels at providing clear audio for podcasts, calls, and general music while maintaining awareness. However, it typically produces less bass and a different audio profile than traditional in-ear or over-ear headphones. Do not expect deep, thumping bass.
- Check for a Secure Fit: The headphones should feel snug but not tight. If you wear glasses, put them on first, then position the headphones. The band should wrap around the back of your head, not over the top.
- Initial Full Charge: For best battery health and performance, give your headphones a full charge right out of the box before you begin the pairing process.
Step-by-Step Instructions
Unbox and Charge Your Headphones
Carefully open the packaging and identify all the components. You should find the headphones, a charging cable, and often a storage pouch and earplugs (we'll explain those later). Before anything else, connect the charging cable to the headphones and a USB power source. Most models have an LED indicator that will change colour or turn off once charging is complete. A first-time charge usually takes around 1 to 2 hours. Avoid using the headphones while they are charging for the first time.
Power On and Enter Pairing Mode
Once fully charged, disconnect the headphones. Locate the power button, which is often also the volume up button. Press and hold it for 3 to 5 seconds. You will likely hear an audible prompt, such as "Power On," and see the LED indicator light up. To enter pairing mode, continue holding the power button after the device turns on. The audible prompt will change to "Pairing," and the LED indicator will begin flashing, typically in red and blue. This signals that the headphones are discoverable by other devices.
Connect to Your Device via Bluetooth
With your headphones in pairing mode, open the Bluetooth settings on your smartphone, computer, or other device. Turn Bluetooth on if it isn't already, and wait for your device to scan for nearby peripherals. The headphones will appear in the list of available devices, usually under their brand and model name (e.g., "Shokz OpenRun"). Tap on the name to initiate the connection. A final audio prompt from the headphones, such as "Connected," will confirm a successful pairing. Your headphones are now ready to play audio from your device.
Achieve the Correct Fit
Proper placement is essential for both comfort and sound quality. Slide the neckband behind your head and neck, and loop the ear hooks over your ears. The main audio components, called transducers, should not go in or over your ear canals. Instead, position them so they rest comfortably on your cheekbones, just in front of your ears. You should be able to feel a slight vibration from them when audio is playing. The fit should be secure enough that they don't move when you shake your head, but not so tight that they cause pressure or a headache.
Master the Basic Controls
Familiarise yourself with the button layout. Most bone conduction headphones have a simple, three-button setup.
- Multifunction Button: This is usually a single, larger button located on the side of one of the transducers. A single press will play/pause music or answer/end a call. A double-press often skips to the next track, and a triple-press may go to the previous track. Pressing and holding can activate your device's voice assistant (like Siri or Google Assistant).
- Volume Up (+) / Power Button: A short press increases the volume. As you know, a long press from an off state powers the device on and enters pairing mode.
- Volume Down (-): A short press decreases the volume. Holding it down may mute the microphone during a call.
Consult your specific model's user manual, as button functions can vary slightly between brands.
Make and Receive Calls
Bone conduction headphones are excellent for hands-free calls, as they leave your ears open to hear your own voice naturally. When a call comes in, you'll hear a ringtone through the headphones. A single press of the multifunction button will answer the call. The dual microphones, often noise-cancelling, will pick up your voice for the person on the other end. To end the call, press the multifunction button again. To reject an incoming call, simply press and hold the multifunction button for a couple of seconds until you hear a beep.
Clean and Maintain Your Headphones
To ensure longevity and hygiene, regularly clean your headphones. After a workout or extended use, wipe them down with a dry, soft cloth to remove sweat and oils. For a more thorough clean, you can lightly dampen the cloth with water, but never submerge the headphones unless they are explicitly rated for swimming (e.g., IP68). Pay special attention to the charging port area; ensure it is completely dry before connecting the charging cable to prevent damage. Store them in the provided pouch to protect them from scratches and dust.
Quick Reference
| Situation | Use this | Why |
|---|---|---|
| Running on a busy street | Moderate volume level | Maintains full awareness of traffic, pedestrians, and other hazards. |
| In a noisy office or on a train | The included earplugs | Blocks ambient noise, creating a more immersive, conventional listening experience with enhanced bass. |
| Switching between laptop and phone | Multipoint Pairing feature | Allows connection to two devices simultaneously, seamlessly switching audio sources without re-pairing. |
| Unclear call quality for the other person | Reposition the transducers | Ensures the microphones are correctly positioned and not obstructed by hair or clothing. |
Common Problems When You Use Bone Conduction Headphones
Even with the best technology, you might encounter a few small issues. Here’s how to troubleshoot the most common ones.
A "Tickling" Sensation on Your Cheeks
The Cause: This is a result of the vibrations, especially at higher volumes or with bass-heavy music. It's a normal characteristic of the technology.
The Fix: The simplest solution is to lower the volume slightly. You can also try adjusting the position of the transducers, moving them a tiny bit forward or back on your cheekbones to find a less sensitive spot.
Poor or "Tinny" Sound Quality
The Cause: This is almost always due to incorrect positioning. If the transducers are not making firm contact with your cheekbones, the sound cannot be transmitted effectively.
The Fix: Ensure the headphones are fitted snugly. The transducers must be on the bone, not on the soft tissue in front of it. Press them gently against your cheekbones to see if the sound improves—if it does, you need to adjust the fit. Also, remember that bass will naturally be lighter than with in-ear buds.
Bluetooth Connection Drops
The Cause: Interference from other wireless devices, physical obstructions (like a thick wall), or being too far from your audio source can cause the connection to drop. A low battery on either the headphones or your source device can also be a culprit.
The Fix: Keep your audio device close to you, ideally within 10 metres and with a clear line of sight. Try turning off Bluetooth on other nearby devices that you aren't using. If the problem persists, "forget" the headphones in your device's Bluetooth settings and re-pair them from scratch to establish a fresh connection.
Others Can Hear Your Audio (Sound Leakage)
The Cause: At high volumes, the vibrations can be strong enough to create audible sound waves in the air around the headphones. This is known as sound leakage.
The Fix: This is a trade-off of the open-ear design. The only way to eliminate it is to listen at a more moderate volume. In a quiet environment like an office or library, keep the volume below 50-60% to ensure privacy.
Advanced Tips for Bone Conduction Headphones
Once you've mastered the basics, these tips will elevate your experience.
- Use Earplugs for Immersive Sound: This may seem counterintuitive, but using the foam or silicone earplugs that often come with bone conduction headphones dramatically improves sound quality in loud environments. By blocking your ear canals, you cut out ambient noise, and the bass and richness of the audio are significantly enhanced. This is perfect for listening on an airplane or train.
- Enable Multipoint Pairing: Many premium models allow you to connect to two devices at once. This is incredibly useful for connecting to both your laptop and your phone. You can listen to music from your computer, and if a call comes in on your phone, the headphones will automatically switch over. The activation process usually involves a specific button combination while in pairing mode—check your manual for instructions.
- Explore EQ Settings: Some brands offer different equaliser (EQ) modes. For instance, a "Standard Mode" is for general music, while a "Vocal Booster Mode" is excellent for enhancing clarity in podcasts and audiobooks. You can typically cycle through these modes by pressing and holding both volume buttons simultaneously.
- Pair with a Smartwatch: For a truly phone-free workout, pair your headphones directly with a GPS smartwatch that can store music. This gives you audio for your run or cycle without needing to carry a bulky phone.
Bone Conduction Headphones FAQ
How do bone conduction headphones actually work?
Are they safer for my hearing than normal headphones?
Can other people hear what I'm listening to?
What is the sound quality like compared to traditional headphones?
Are they fully waterproof?
Can I wear them with glasses, a bike helmet, or a face mask?
Final Checklist for Bone Conduction Headphones
Before you head out, run through this quick mental checklist to ensure the best possible experience.
- Fully Charged: Is the battery level sufficient for your planned activity? A quick check can prevent them from dying mid-run.
- Correct Position: Are the transducers resting on your cheekbones, not your ears? A good fit is key to good sound.
- Paired and Connected: Is the Bluetooth light solid, and does your phone show a connection? Test by playing a short audio clip.
- Volume Set Appropriately: Is the volume high enough to hear, but low enough to maintain situational awareness and protect your hearing?
- Controls Mastered: Do you remember how to play/pause, skip a track, and answer a call without fumbling for your phone?
- Clean and Dry: Are the headphones, especially the charging port, clean and dry from your last use?